
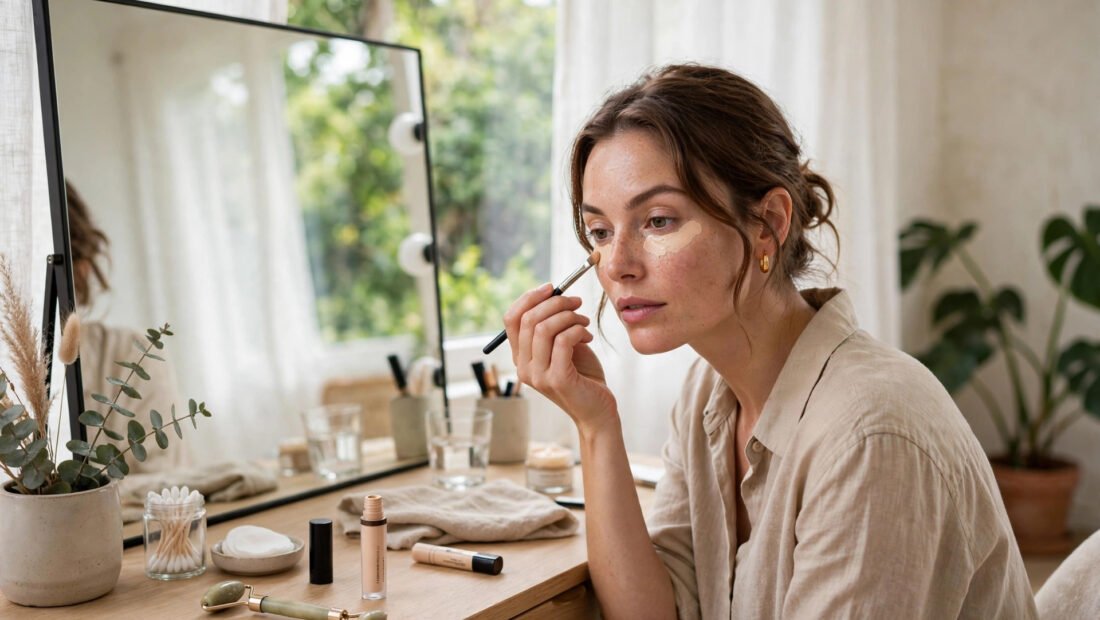
Dark circles have a cruel irony: the more product you pile on to hide them, the worse they often look. Thick concealer settles into fine lines, goes grey by midday, and announces itself from across the room — the dreaded cakey effect. But covering dark circles naturally is not about finding a miracle product. It is about understanding what is causing the darkness, prepping the skin properly, and using less product more cleverly.
This guide shows you how to cover dark circles on your own, with no help and no makeup-artist skills — just technique that works on real skin, in real daylight.
First: Know What Kind of Dark Circles You Have
Not all dark circles are the same, and the fix depends on the cause. Pigmented circles look brown and are caused by excess melanin — more common in deeper skin tones and worsened by sun exposure and rubbing the eyes. Vascular circles look blue or purple and come from thin skin showing the blood vessels beneath — common in fair skin and worse with tiredness. Structural shadows are not discolouration at all but hollows (tear troughs) casting shadows, which worsen with age and volume loss.
Here is the quick test: gently stretch the skin under your eye. If the darkness moves with the skin, it is pigmentation. If it stays put or the colour does not change, it is vascular or structural. Pigmented circles respond best to brightening ingredients and sun protection; vascular circles respond to sleep, cold (which constricts vessels), and colour correction; structural hollows can only be truly fixed with filler — makeup can only soften the shadow. Knowing which you have stops you buying products designed for a problem you do not have.
Prep: The Step Everyone Skips
Cakey concealer is almost always a prep failure, not a product failure. The under-eye area is the thinnest skin on your face and creases the moment it is dry. Start with a lightweight eye cream — not a rich heavy one, which causes sliding — and let it absorb for two full minutes. If your dark circles are puffy as well as dark, a cold compress or chilled spoons for a few minutes constricts the vessels first.
The other prep secret is hydration from within the routine: apply your regular moisturiser right up to the orbital bone. Concealer applied to dry, unprepped skin will cling to every fine line. Two minutes of prep genuinely matters more than the price of the concealer. Good sleep helps too — chronic short sleep is the most common fixable cause of vascular darkness, and improving your bedroom for sleep pays off on your face as well as your energy.
Colour Correcting: The Professional’s Actual Secret
Makeup artists do not cover dark circles with skin-coloured concealer alone — they neutralise the colour first. The rule is the colour wheel: peach/orange correctors cancel blue and purple tones (fair to medium skin), deeper orange-red correctors cancel darkness on deep skin tones, and yellow correctors brighten dull, sallow under-eyes.
Apply a tiny amount of corrector only where the darkness is — usually the inner corner and along the darkest band — and blend the edges with a fingertip. Then apply your regular concealer sparingly over the top. This two-layer approach means you need far less concealer overall, which is precisely what prevents cakiness. Most beginners do the opposite: skip the corrector and pile on extra concealer, which is why it looks heavy.
The “Less Is More” Application Technique
Choose a creamy, lightweight concealer one shade lighter than your skin — not two or three shades, which creates the reverse-panda effect. Apply in small dots only on the dark areas, never in a big triangle across the whole cheek (that 2016 technique photographs well and looks heavy in real life). Blend with a damp makeup sponge using pressing motions, not dragging — dragging moves the product off the darkness you are trying to cover.
Build in thin layers: one light layer, assess, then add a second only where needed. Set with the smallest amount of translucent powder, applied with a fluffy brush only where you crease — powdering the entire under-eye is what creates the dry, cakey look by midday. A fine facial mist after setting melts everything together and removes any powdery finish.
Long-Term Reduction (Makeup Is the Last Step, Not the First)
Makeup covers; habits reduce. Daily SPF around the eyes prevents pigmented circles from darkening — the under-eye area burns easily and most people skip sunscreen there. Stop rubbing your eyes (allergies are a major cause of chronic rubbing and the resulting pigmentation; treat the allergy). Manage salt intake and sleep position if puffiness accompanies your circles. And be realistic: genetics determine a large part of under-eye darkness, and no cream erases what bone structure creates.
Eye creams with caffeine can temporarily tighten and brighten vascular circles; vitamin C and niacinamide help pigmented ones over weeks. But view them as supporting players — the NHS advice on dark circles under the eyes is refreshingly honest that lifestyle and realistic expectations matter more than expensive pots. The British Skin Foundation offers evidence-based guidance on which skin treatments have genuine research behind them. If your thirties are bringing other unwelcome changes too, you are not alone — thinning hair in your 30s is another common concern with practical solutions.
The Tools That Make It Easier
Technique matters more than products, but the right tools help. A damp beauty sponge (used pressing, not dragging) gives the most natural finish for beginners — brushes can leave streaks if your technique is not polished yet. Your ring finger is actually an excellent applicator for the inner corner: the warmth helps blend, and the light pressure suits the delicate area. A small, fluffy eyeshadow brush works well for setting powder precisely where you crease without powdering the whole area.
Lighting is the most overlooked tool. Always check your work in natural daylight — bathroom lighting is notoriously flattering and hides mistakes that daylight reveals. If you do your makeup in artificial light, keep a small mirror by a window for a final check. And blend down, not just across: carrying a whisper of concealer slightly onto the upper cheek eliminates the visible line where coverage stops, which is what makes under-eye makeup detectable. The goal is a gradient, not a mask.
Conclusion: Technique Beats Product Every Time
Covering dark circles without cakey makeup comes down to five habits: identify your circle type, prep with eye cream and patience, colour-correct before concealing, apply less product in thinner layers, and set minimally. Nobody watching you across a meeting room can tell you are wearing corrector and a dot of concealer — which is exactly the point. The best under-eye makeup is the kind nobody notices.
Frequently Asked Questions
Why does my concealer look cakey under my eyes?
Almost always too much product on unprepped skin. Use eye cream first (let it absorb), apply concealer in thin layers only where needed, and set with minimal powder. Thick single layers over dry skin will always crease and cake.
What colour corrector should I use for dark circles?
Peach or orange for blue/purple circles on fair to medium skin; deeper orange-red for deep skin tones. Apply sparingly under your regular concealer, only on the darkest areas.
Can dark circles be removed permanently?
It depends on the cause. Pigmented circles can fade with sun protection and brightening ingredients; vascular circles improve with sleep and lifestyle; structural hollows from volume loss only respond to cosmetic procedures. Genetics play a large role.
Is it bad to wear concealer every day?
No, provided you remove it thoroughly every evening and the product suits your skin. What ages the under-eye area is rubbing during removal and sleeping in makeup — be gentle and always cleanse.