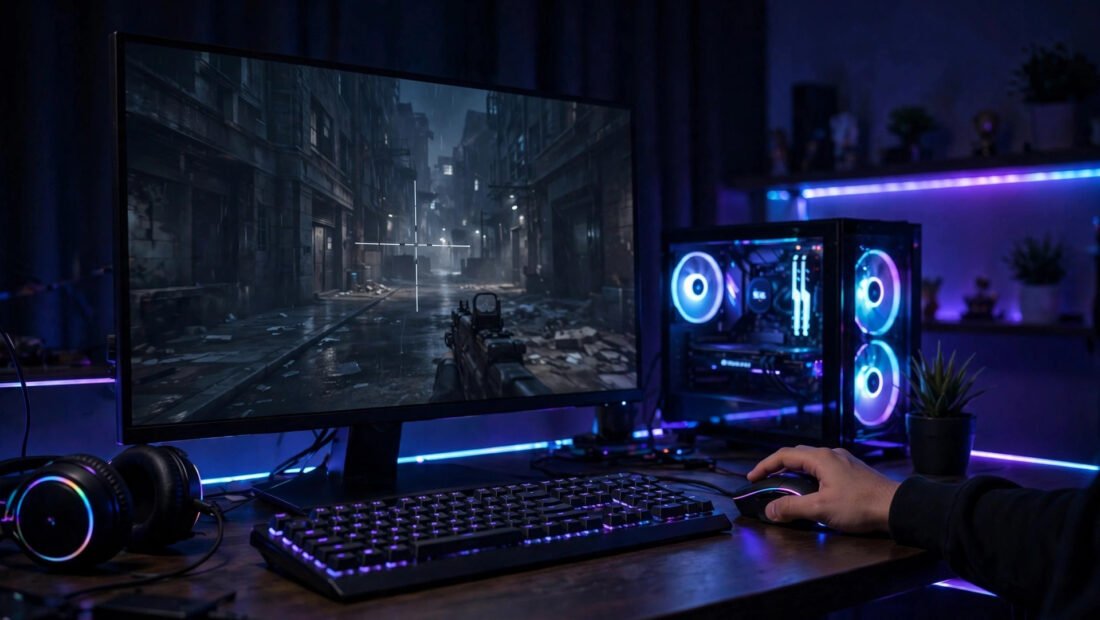
You watch a killcam and the enemy player snaps to your head like their mouse is magnetised. Your own aim feels like stirring soup. Here is the reassuring truth about first-person shooter aim: it is almost entirely a trained skill, not a talent. The players with crisp aim were not born with it — they built it through specific, repeatable practice. And beginners can build it too, safely and without the wrist injuries that plague players who grind mindlessly.
This guide covers the beginner-safe path to better FPS aim: setup fundamentals, the practice methods that actually work, and the health habits that keep your hands working for years.
Setup First: Your Aim Is Only as Good as Your Settings
Before practising a single shot, fix the foundation. Sensitivity: lower is more controllable for beginners. A common starting point is being able to do a 180-degree turn with one comfortable sweep of your mousepad — if a tiny twitch sends your view spinning, your sensitivity is too high. DPI: 400–800 is the standard range for precision; higher DPI is marketing, not advantage. Mousepad: get the largest one that fits your desk — arm aiming (moving from the elbow and shoulder) beats wrist-only aiming for both precision and joint health.
On console, the equivalents are: lower your look sensitivity, enable any aim-assist the game offers (it exists to level the playing field — use it), and consider kontrol freeks or a controller with back paddles only after fundamentals are solid. Parents buying shooters for younger players should check AskAboutGames, the UK’s official source of games age-rating advice. And check your display: a monitor or TV with low input lag and at least 60Hz makes aiming tangibly easier than a laggy screen. If your setup is an ageing machine, making your old laptop run faster can lift frame rates, which directly improves aim responsiveness.
The Two Skills Inside “Aim”
“Aim” is actually two separate skills. Tracking is keeping your crosshair glued to a moving target — crucial in games like Apex Legends or Overwatch. Flicking is snapping quickly to a target that appears — the Counter-Strike and Valorant headshot. Beginners should identify which their game demands most and weight practice accordingly, though both benefit from the same foundation: smooth, controlled mouse movement.
The other hidden component is crosshair placement: keeping your crosshair at head height and aimed where enemies are likely to appear, rather than at the floor. This single habit does more for beginners than any amount of flick training, because it turns every engagement into a micro-adjustment instead of a desperate 180-degree spin. Watch any good player and their crosshair barely moves — they were already aiming at the right place.
Practice That Works: Aim Trainers and Deliberate Drills
Dedicated aim trainers (Aim Lab and KovaaK’s are free or cheap on Steam) offer structured drills that isolate tracking and flicking far more efficiently than playing matches, where you might take ten shots a minute. Fifteen to twenty minutes of focused drills before playing is the sweet spot — enough to warm up and build skill, not so much that you are exhausted before the real games.
The key word is deliberate: mindlessly grinding drills while watching YouTube builds nothing. Focus on smoothness over speed at first — speed comes naturally once control is ingrained. Vary the drills weekly, track your scores to see trends (not daily noise), and spend at least half your gaming time in actual matches applying the skills. Aim trainers build mechanics; only real games build the game sense of when and where to aim.
The “Safest Way”: Protecting Your Hands and Wrists
This is the part most aim guides skip, and it matters most for beginners building new habits. Repetitive strain injuries — wrist pain, carpal tunnel symptoms, elbow tendinitis — are common in FPS players who grind with poor ergonomics. The safe setup: forearm supported, wrist straight (not bent up or down), mouse at elbow height, and regular breaks — 5 minutes every 30–45 minutes, with wrist circles and stretches.
Arm aiming on a low sensitivity is not just more precise; it distributes the load across larger muscle groups instead of hammering the small wrist tendons. If you feel pain — not fatigue, pain — stop. Pain is information, and pushing through it is how temporary soreness becomes a six-month injury. The NHS guidance on repetitive strain injury covers prevention and early treatment, and it applies as much to gamers as to office workers.
Settings and Habits That Quietly Sabotage Aim
Beginners commonly sabotage themselves with: mouse acceleration enabled (Windows “enhance pointer precision” — turn it off; it makes movement unpredictable), wildly inconsistent sensitivity between games (use a sensitivity converter to keep muscle memory consistent), playing on Wi-Fi with high ping (wired connection or powerline adapters help enormously), and — the biggest one — blaming aim for what is actually positioning. If you keep dying, the problem is usually where you stand and when you peek, not your flick speed. Improving your home Wi-Fi signal is an underrated aim upgrade for laggy households.
Game Sense: The Half of Aiming Nobody Practices
Here is an uncomfortable truth: most players who think they have an aim problem actually have a positioning problem. Aim trainers build mouse control, but real matches are won by crosshair placement, positioning, and timing — the “game sense” half of aiming. The player who holds the right angle barely needs to flick; the player who wide-swings into three enemies needs inhuman reactions to survive.
Train game sense deliberately: after each death, ask what information you had and what you should have done — not “I missed,” but “I peeked without checking the angle.” Watch one replay weekly from your opponent’s perspective to see what your movement telegraphed. Learn the common angles on your most-played maps until holding them is automatic. And study positioning from better players: notice how little their crosshair moves, because they are always pre-aimed at the likely threat. Mechanics get you to average; game sense gets you beyond it. The two multiply — which is why the complete player practices both.
Conclusion: Aim Is Built, Not Born
Better FPS aim comes from a clear formula: sensible low sensitivity, large mousepad, crosshair placement habits, 15–20 minutes of deliberate aim-trainer drills, real-match practice, and ergonomic discipline that protects your hands. Expect noticeable improvement in 3–4 weeks of consistent practice — not overnight, but reliably. The players with magnetic aim got there through exactly this process. Now you know the path; walk it.
Frequently Asked Questions
How long does it take to improve aim in FPS games?
Most beginners see noticeable improvement within 3–4 weeks of consistent deliberate practice (15–20 minutes of drills plus regular matches). Major transformation takes 3–6 months. Consistency matters far more than marathon sessions.
What is the best sensitivity for FPS beginners?
Start low: you should be able to turn 180 degrees with one comfortable mousepad sweep. Most precise players use 400–800 DPI with correspondingly low in-game sensitivity. Lower sensitivity favours control, which beginners need most.
Are aim trainers worth it?
Yes, as a supplement — 15–20 minutes before matches builds mechanics efficiently. But they cannot replace real games, which teach positioning, timing, and game sense. Use both.
How do I avoid wrist pain from gaming?
Use arm aiming on a low sensitivity with a large mousepad, keep your wrist straight and supported, take 5-minute breaks every 30–45 minutes, and stop if you feel pain rather than pushing through it.