
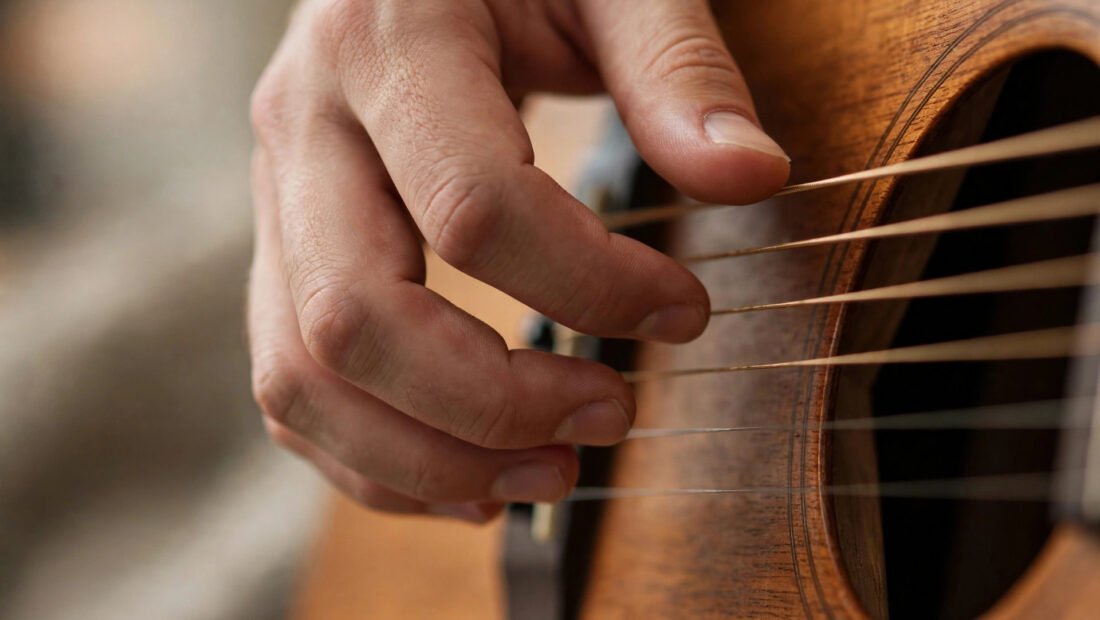
Fingerstyle guitar — playing melody, bass, and harmony simultaneously with your fingers instead of a pick — is what makes one guitar sound like an entire band. It is the technique behind the most mesmerising solo guitar performances, from classical pieces to modern percussive players. It is also genuinely demanding, which raises the beginner’s dilemma: should you start learning it now, step by step, or wait until your playing is more developed?
The short answer: start now, but start correctly. Waiting until you are “ready” is the most common way guitarists never learn fingerstyle at all. This guide explains why, and gives you the step-by-step path that works from day one.
Why “Wait Until Later” Usually Means “Never”
The logic of waiting feels sound: master the basics first, then add fingerstyle. But fingerstyle is not an advanced decoration on top of guitar basics — it is a parallel foundation. Players who wait typically build years of pick-only habits (rigid wrist, pick-dependent timing, strumming-centric thinking) that must then be partially unlearned. Starting fingerstyle early means your hands develop both vocabularies together.
There is also a motivation argument. Fingerstyle produces the most rewarding early wins in guitar: a simple Travis-picking pattern over two chords sounds impressively musical within weeks, in a way that strumming the same chords does not. Beginners who taste that richness early practise more — and practice volume is the real determinant of progress. The question is not whether you are ready for fingerstyle; it is whether you learn it in the right order.
The Step-by-Step Path: Phase 1 (Weeks 1–4)
Step 1: the rest stroke foundation. Forget patterns initially. Rest your thumb on the low E string and pluck it, letting your thumb come to rest on the next string. Do the same with index, middle, and ring fingers on the top three strings. This teaches each finger independent, controlled movement — the entire basis of fingerstyle. Ten minutes daily.
Step 2: thumb independence. Play a steady alternating bass with your thumb (E string, A string, E string, A string) while keeping it perfectly even. This is harder than it sounds and more important than anything else — the thumb is the engine room of fingerstyle. Step 3: add one finger. Keep the thumb pattern going and add your index finger plucking the G string on beats 2 and 4. When this feels automatic, you have the seed of every fingerstyle pattern ever written.
Phase 2 (Months 2–3): Patterns and First Pieces
Step 4: Travis picking. The thumb plays an alternating bass line while fingers play a syncopated melody pattern on top — the signature sound of folk, country, and countless singer-songwriters. Start with the classic pattern (thumb-index-thumb-middle) on open chords, painfully slowly, with a metronome. Speed is irrelevant; evenness is everything.
Step 5: your first complete piece. Learn one simple fingerstyle arrangement — “Dust in the Wind” (Kansas), “Landslide” (Fleetwood Mac), or a basic classical study like Carcassi’s Op. 60 No. 1. A complete piece teaches musicality (dynamics, phrasing) that exercises never do. Step 6: independence drills. Play scales with fingers while the thumb maintains a bass pattern — the coordination breakthrough that unlocks everything advanced.
Phase 3 (Months 4–6): Musicality and Style
Technique without musicality is typing. Phase 3 is about dynamics (playing some notes louder than others — the melody must sing above the accompaniment), tone (where you pluck changes the sound: near the bridge is bright, over the soundhole is warm), and arranging — taking songs you know and creating your own fingerstyle versions. This is where fingerstyle becomes creative rather than mechanical.
Explore the styles that inspire you: classical (formal technique, nylon strings), folk/Travis picking (steel string, song accompaniment), and modern percussive fingerstyle (tapping, harmonics, body percussion — the Andy McKee/Tommy Emmanuel world). Each has dedicated teachers on YouTube; find one whose playing makes you want to practise. For structured technique, ABRSM’s guitar syllabuses build fingerstyle skills progressively from beginner grades upward. Nothing beats seeing it live either — finding cheap live gigs nearby lets you watch skilled players’ hands up close, which is worth weeks of video study. Listening widely matters too — keeping up with new music releases exposes you to contemporary fingerstyle players pushing the technique forward.
Common Beginner Pitfalls
Nails vs flesh: beginners agonise over this. Start with flesh — it is forgiving and always available. Grow nails later if you want more projection; many great players use flesh alone. Tension: the right hand must be relaxed; tension kills tone and causes injury. Shake your hand out regularly. Speed obsession: playing fast and sloppy impresses no one; playing slowly and beautifully impresses everyone. Skipping the metronome: fingerstyle’s magic is rhythmic precision between thumb and fingers — without a metronome, your timing drifts and you will not hear it. Wrong guitar: any guitar works to start, but a slightly wider nut width (43mm+) gives fingers more room; classical guitars are ideal for beginners.
Arranging: Making Songs Your Own
The moment fingerstyle gets truly exciting is when you stop learning other people’s arrangements and start making your own. The process is learnable: take a song you know well, work out its chord progression, establish a Travis-picking pattern over those chords with your thumb on the bass notes, then add the melody on the top strings with your fingers. Your first arrangements will be simple — and they will sound like real fingerstyle guitar, because they are.
Start with songs that have strong, simple melodies: folk songs, hymns, Christmas carols, and pop songs with singable lines all arrange beautifully. Do not aim for complexity — aim for recognisability. A simple arrangement played musically beats a complex one played mechanically, every time. Record your arrangements, even rough ones; hearing them back teaches you what works and builds a repertoire that is uniquely yours. This is the stage where fingerstyle stops being a technique you practise and becomes a voice you speak with.
Conclusion: Start Now, Go Slow, Trust the Steps
Learn fingerstyle now, not later — but learn it step by step: rest strokes, thumb independence, one finger, Travis picking, first pieces, then musicality. The players who wait for readiness never feel ready; the players who start small and build steadily wake up one day sounding like an entire band. BBC Bitesize music is a solid free companion for the theory behind what your fingers are doing. Your future self, playing a full arrangement with your own ten fingers, will thank present-you for starting today.
Frequently Asked Questions
Should I learn fingerstyle as a beginner?
Yes — starting early prevents pick-only habits from hardening and gives motivating early wins. Learn it alongside your other basics, step by step, rather than treating it as an advanced add-on.
How long does it take to learn fingerstyle guitar?
Basic Travis picking and simple arrangements: 3–6 months of consistent practice. Comfortable, musical fingerstyle: 1–2 years. Advanced percussive styles: several years. The early months deliver the most dramatic progress.
Do I need long nails for fingerstyle?
No. Start with flesh — it is forgiving and always available. Many excellent players never grow nails. Consider nails later if you want more volume and brightness.
What is the easiest fingerstyle song to learn?
“Dust in the Wind” by Kansas uses a simple, repetitive Travis-picking pattern ideal for beginners. “Landslide” by Fleetwood Mac and basic classical studies (Carcassi Op. 60 No. 1) are also classic first pieces.